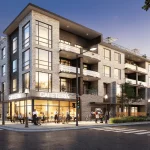
An architectural rendering workflow is the structured sequence of steps a 3D studio follows to turn a building design into a photorealistic image or animation covering both the production process (modeling, lighting, rendering) and the cooperation process (team roles, feedback rounds, milestones, and delivery). Understanding both sides of the workflow helps architects, developers, and designers know what to expect, what to prepare, and how to keep a project moving without unnecessary delays.
Every studio runs this process slightly differently, but the underlying milestones are remarkably consistent across the industry. In this guide, MR Rendering breaks down each stage of a typical architectural rendering workflow from the first brief to the final delivered files.
What Is an Architectural Rendering Workflow?
An architectural rendering workflow is the production pipeline a CGI studio uses to convert design data drawings, CAD files, or 3D models into a finished visual, paired with the communication structure that keeps the client informed at every step. It exists to give both sides a predictable path: clear checkpoints, defined feedback windows, and a realistic timeline from kickoff to delivery.
For clients new to 3D architectural visualization, the workflow also answers the most common first question: “what do I need to provide, and when?” A well-documented workflow removes guesswork at every stage, which is why studios that explain their process clearly tend to run smoother projects with fewer revision rounds.
What is an architectural rendering workflow?
The 6 Stages of an Architectural Rendering Workflow
| Stage | What Happens | Client Involvement | Typical Duration |
|---|---|---|---|
| 1. Brief & Quote | Scope, references, and cost defined | Provide drawings, references, deadlines | 1–2 days |
| 2. 3D Modeling | Geometry built from drawings | Minimal — review only if requested | 1–3 days |
| 3. Clay Render | Grayscale preview of composition | Approve camera angle & layout | 1 day |
| 4. Materials & Lighting | Textures, lighting, and mood applied | Minimal | 1–2 days |
| 5. Draft Render | Near-final image for review | Provide detailed feedback | 1 day + feedback time |
| 6. Final Render & Delivery | Full-res render, post-production, handoff | Final approval | 1–2 days |
Stage 1: Brief, References, and Quote
Every project begins with a brief – a description of the scope of work, target audience, required views, deadlines, and visual direction. Clients typically share floor plans, elevations, 3D models, mood boards, and reference images of the style they want. A complete brief at this stage prevents most delays later in the process. Once reviewed, the studio prepares a quote covering cost, timeline, and deliverables.
Stage 2: 3D Modeling
If the client doesn’t already have a usable 3D model, the studio builds one from the provided drawings establishing accurate proportions, room layouts, structural elements, and site geometry. This stage forms the geometric foundation for everything that follows. See the benefits of 3D modeling for more detail on what this process involves.
Stage 3: Blocking and Clay Render
Before any materials or lighting are applied, the studio produces a “clay render” or grayscale preview – a version of the scene with no textures or colors, used to confirm camera angles, composition, and spatial layout. This is the cheapest and fastest point in the workflow to make structural changes, which is why approving the clay render carefully is one of the most valuable steps a client can take.
The clay render is a grayscale, untextured preview used to confirm camera angle, composition, and layout
Stage 4: Materials, Lighting, and Texturing
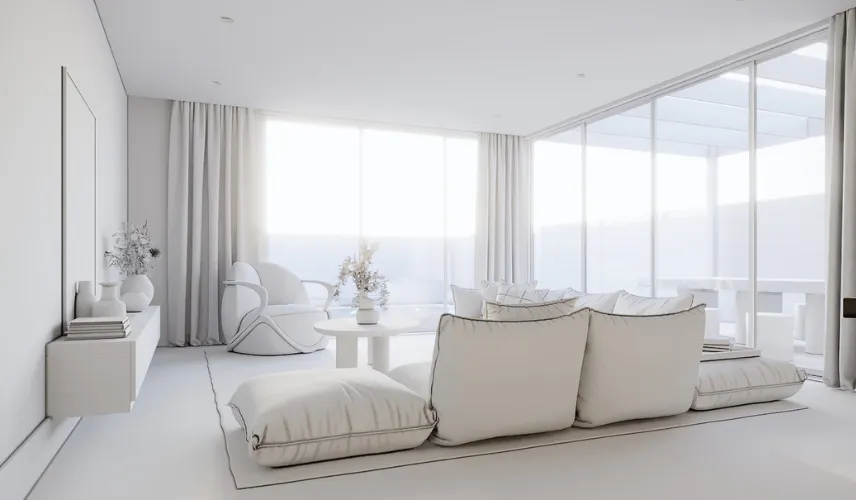
Once the composition is approved, the artist applies materials, textures, and lighting. This is where photorealism takes shape surfaces like wood, stone, glass, and fabric are mapped with physically accurate properties, and lighting is calibrated to the time of day and mood specified in the brief.
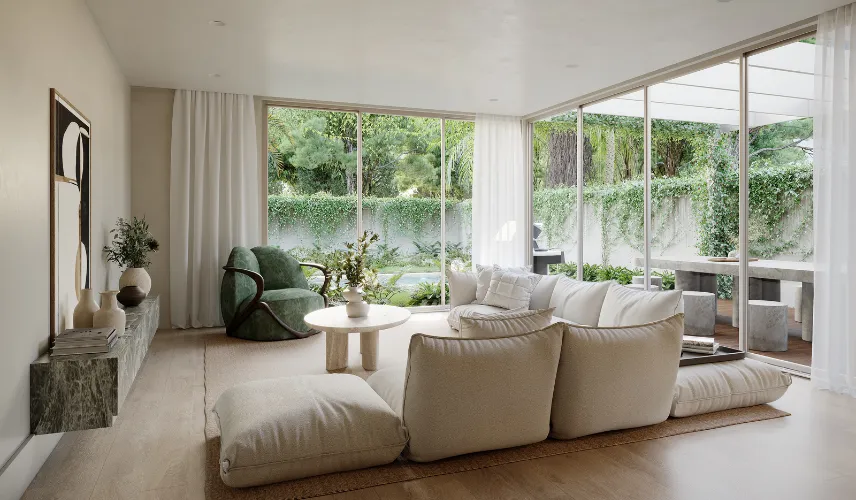
Materials, textures, and physically accurate lighting are applied to the approved clay model
Stage 5: Draft Render and Client Feedback
The studio delivers a draft render a near-final image at lower resolution for client review. This is the primary feedback checkpoint. Clear, specific feedback (“make the wall material warmer,” “add more shadow under the canopy”) significantly reduces the number of revision rounds needed. Most studios include two to three rounds of revisions within the standard scope; major changes beyond this point such as altering the building’s design or camera angle are typically quoted separately.
Stage 6: Final Render, Post-Production, and Delivery
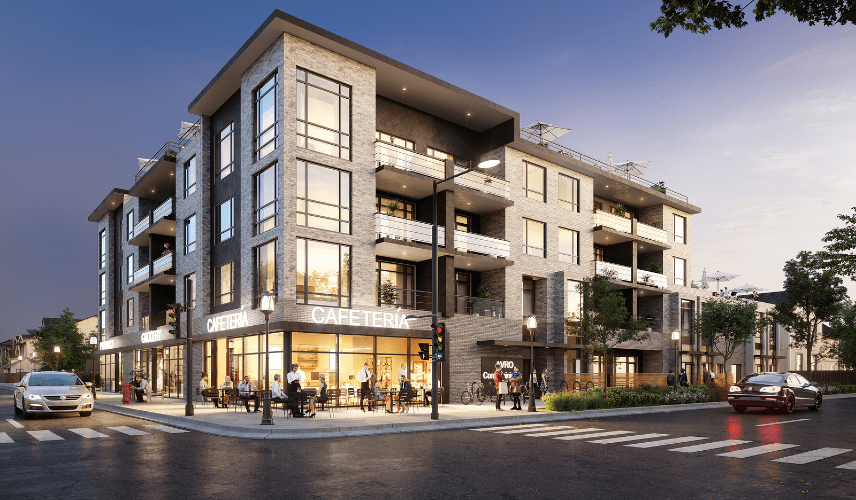
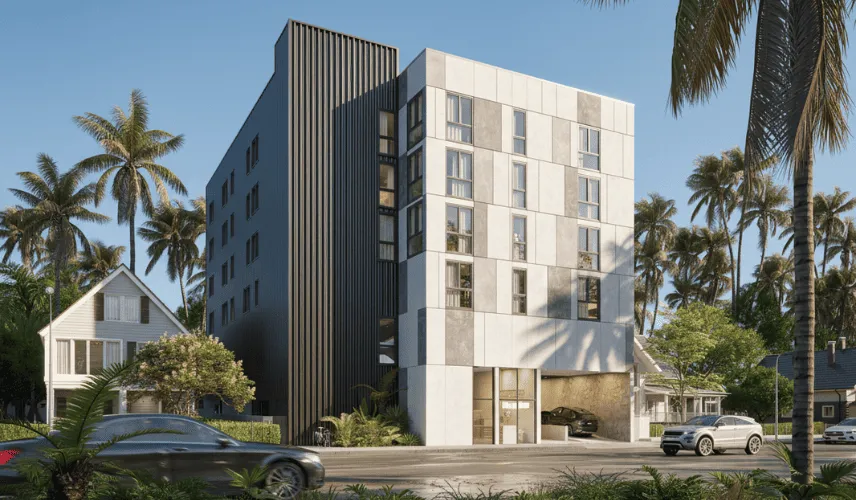
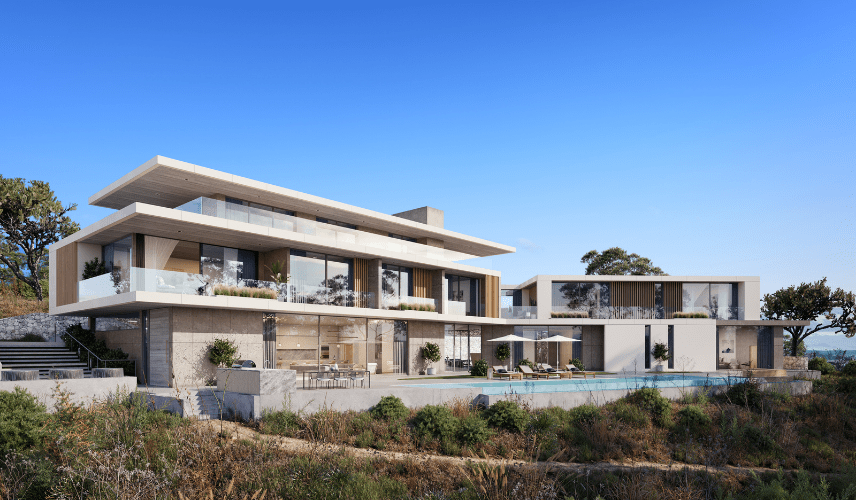
Once the draft is approved, the studio renders the final image at full resolution and applies post-production color grading, contrast adjustments, atmospheric effects, and composition tweaks. The finished files are delivered in the agreed format and resolution, ready for marketing, presentations, or planning submissions.
The Cooperation Side: Who’s on Your Project Team
Working with a CGI studio means working with a small team but you won’t need to coordinate between them yourself. A typical project structure looks like this:
| Role | What They Do | What You Get From Them |
|---|---|---|
| Client Manager | Understands your needs, proposes the right service package, handles invoicing | Your first point of contact and long-term relationship owner |
| Project Manager | Manages your brief, relays feedback to the 3D team, tracks deadlines and revisions | Your day-to-day contact — questions about timeline or changes go through your PM |
| 3D Artist | Builds the scene, models geometry, sets up lighting and materials | The work you see in every draft and final render |
| Art Director | Reviews visual quality before delivery — lighting realism, consistency, adherence to references | The layer between “technically correct” and “looks like a real photograph” |
In short: your client manager owns the relationship, your project manager owns the project, and the creative team owns the visuals. You always know who to contact and why.
Milestones and Communication
Most professional rendering workflows follow the same five-point milestone path: brief submission → kick-off → clay/grayscale approval → colored proof approval → final delivery. At each point, the client reviews the work and gives the green light or feedback before the team moves forward. Nothing advances without sign-off.
Communication typically runs through a client portal or shared workspace where you can check project status, download files, leave feedback, and view payment history. During active phases modeling, revisions, final delivery expect frequent updates from your project manager; during quieter stretches, periodic check-ins keep you informed without unnecessary noise. Many studios also operate across time zones, so updates and progress are often waiting for you rather than requiring you to be online at the same time as the team.
Payment is usually milestone-based commonly split between project kick-off and final delivery so there are no surprise mid-project invoices. Standard delivery formats are high-resolution JPG or PNG for stills and MP4 for animations, with other formats available on request.
A smooth architectural rendering workflow starts with a complete brief, specific feedback, and early approvals at the clay render stage
Feedback & Revisions: What’s Included vs. What’s Quoted Separately
Revisions are a built-in part of every workflow, not a surprise cost. Most studios include a meaningful revision allowance within the original quote — but not every change counts the same way. Here’s where the line typically falls:
| Usually Included as a Revision | Usually Quoted as a New Request |
|---|---|
| Change a wall or floor color | Add a new room or floor to the scene |
| Adjust lighting warmth or intensity | Change the building footprint or massing |
| Tweak a camera angle slightly | Add a new camera angle not in the original brief |
| Swap a piece of furniture for a similar one | Replace the entire furniture set or style direction |
| Adjust a material finish (matte to gloss) | Change the architectural style entirely |
When you give feedback also matters. Catching issues at the clay render stage is the cheapest and fastest fix; adjustments at the colored proof stage are still straightforward; changes requested after the final render especially structural ones, typically cost more and take longer. Scope changes should always be quoted and approved before any additional work begins, so there are no surprise invoices.
What Makes a Rendering Workflow Run Smoothly
| Do | Don’t |
|---|---|
| Submit a complete brief with all references, drawings, and style preferences upfront | Send fragments expecting to clarify later incomplete briefs lead to assumptions, and assumptions lead to paid revisions |
| Batch feedback into one consolidated message per review round, with numbered comments | Send multiple separate messages over a single day scattered feedback slows everything down |
| Approve geometry carefully at the clay/grayscale stage | Wait until the final colored render to request layout changes |
| Be specific: “the wall looks too dark on the left” or “swap the oak floor for light concrete” | Give vague feedback like “I don’t like it, can you redo?” |
| Plan a timeline buffer for last-mile reviews | Submit rush requests on the day of delivery |
Most of this comes down to one principle: the clearer and earlier your input, the smoother and more cost-effective the project runs.
How the Workflow Differs by Rendering Type
The structure above applies to most projects, but the details shift depending on the format.
3D Exterior Rendering workflows place extra emphasis on camera angle selection during the clay render stage see the guide on effective camera angles for architectural exterior rendering for how this decision shapes the rest of the project.
3D Interior Rendering workflows often involve more iteration at the materials stage, since interior design clients frequently want to test multiple finish combinations before settling on a final look.
CG Animation workflows add an extra planning stage – a storyboard or animatic before 3D modeling begins, since camera paths and pacing need to be locked in early. The usage of 3D animation in architecture guide covers how this affects production timelines.
3D Virtual Tours workflows require all rooms or zones to reach the materials and lighting stage together, since the tour is published as a single interactive package rather than individual images. Read more in experiencing a 3D rendering walkthrough.
3D Floor Plan Rendering is the fastest workflow of all formats, often skipping the clay render stage entirely since the top-down or isometric layout leaves little ambiguity about composition.
The architectural rendering workflow isn’t one-size-fits-all
Why Choose MR Rendering for Your Project Workflow
With over 15 years of experience in architecture and 3D rendering, the team at MR Rendering blends technical precision with artistic vision to help studios, architects, and real estate developers move smoothly through every stage of the rendering workflow from brief to final delivery.
High-End Visuals, Optimized Investment
Achieve up to 60% cost savings compared to local studios while receiving premium quality without compromise. Whether the workflow covers a single exterior still, a full suite of interior renders, or a complete package combining animation, virtual tour, and floor plans, MR Rendering delivers studio-grade output at every stage without slowing down the schedule.
Consistency You Can Rely On
Every stage of the workflow from clay render to final delivery is carefully managed to align with your brand and meet the highest standards. A streamlined process, transparent communication, and continuous feedback under dedicated project leadership ensure dependable results, whether the project is a single residential still or a full commercial CGI package for a mixed-use development. All projects are handled under NDA, and studios working with MR Rendering as a white-label production partner benefit from a flexible, fully managed outsourcing model.
Scalable Production, Delivered When You Need It
With a team of 30 in-house artists, MR Rendering keeps the workflow moving at any scale from a single image turnaround in 3 business days to full multi-format packages produced from a single 3D model. The studio serves clients across the US, Australia, UK, and Canada.
Ready to start your project? Browse the portfolio or visit the services page to see the full workflow in action.
Frequently Asked Questions
What are the main stages of an architectural rendering workflow?
The production side typically follows six stages: brief and quote, 3D modeling, clay/grayscale render, materials and lighting, draft render with client feedback, and final render with post-production and delivery. Alongside this, the collaboration side covers team roles, communication, feedback rounds, and milestone-based payments.
What is a clay render and why does it matter?
A clay render is a grayscale, untextured preview of the 3D scene used to confirm camera angle, composition, and spatial layout before materials and lighting are applied. It is often the fastest and most cost-effective stage in the workflow for identifying and correcting structural issues.
Who will I be working with during a rendering project?
Most projects involve a client manager (your primary relationship contact), a project manager (responsible for timelines and feedback coordination), 3D artists (who build and render the scene), and an art director or QA reviewer who checks quality before final delivery.
How long does the full architectural rendering workflow take?
For a single still image, the complete workflow typically takes 3–4 business days from brief approval to final delivery, depending on the number of revision rounds. Architectural animations and virtual tours generally require 2–4 weeks due to additional planning, production, and review stages.

Content Writer, Copy Writer
Thao Nguyen is a content writer specializing in 3D rendering, with a strong focus on translating complex visual and technical concepts into clear, engaging content. Through carefully crafted narratives, Thao highlights the creative value and practical impact of 3D visualization, helping audiences better understand and connect with the work behind each image.